It’s be four years since the last formr update! Good grief. I am building a new server for PSA research projects, so I thought I would share the latest updates and installs for those who want it for their own use. I will also note that the formr dudes recommend docker installation as shown here: https://github.com/rubenarslan/formr_dev_docker. My luck with docker is so-so, so here’s my guide for manual install. Further, their warning about “no production” makes me quite nervous.
Here’s the machine we are using today:
Welcome to Ubuntu 24.04.1 LTS (GNU/Linux 6.8.0-49-generic x86_64)
First, on a clean machine (i.e., nothing else on it that you might mess up by upgrading), upgrade and update everything.
sudo apt-get update
sudo apt-get upgrade
Install OpenCPU
Check out the installation guide for OpenCPU and install it. I will note they have not updated their GitHub page as of today, so here’s an alternative link that appears to be updated more. Notice this is 2.2, which does include R4+.
I’ll note that these instructions didn’t change but they do appear to recommend moving away from Ubuntu 18, which isn’t surprising given it’s been upgraded. I also always recommend running one line at a time to make sure it doesn’t error out.
#requires Ubuntu 22.04 (Jammy) or 20.04 (Focal)
sudo add-apt-repository -y ppa:opencpu/opencpu-2.2
sudo apt-get update
sudo apt-get upgrade

# Installs OpenCPU server
sudo apt-get install -y opencpu-server
# Done! Open http://yourhost/ocpu in your browser
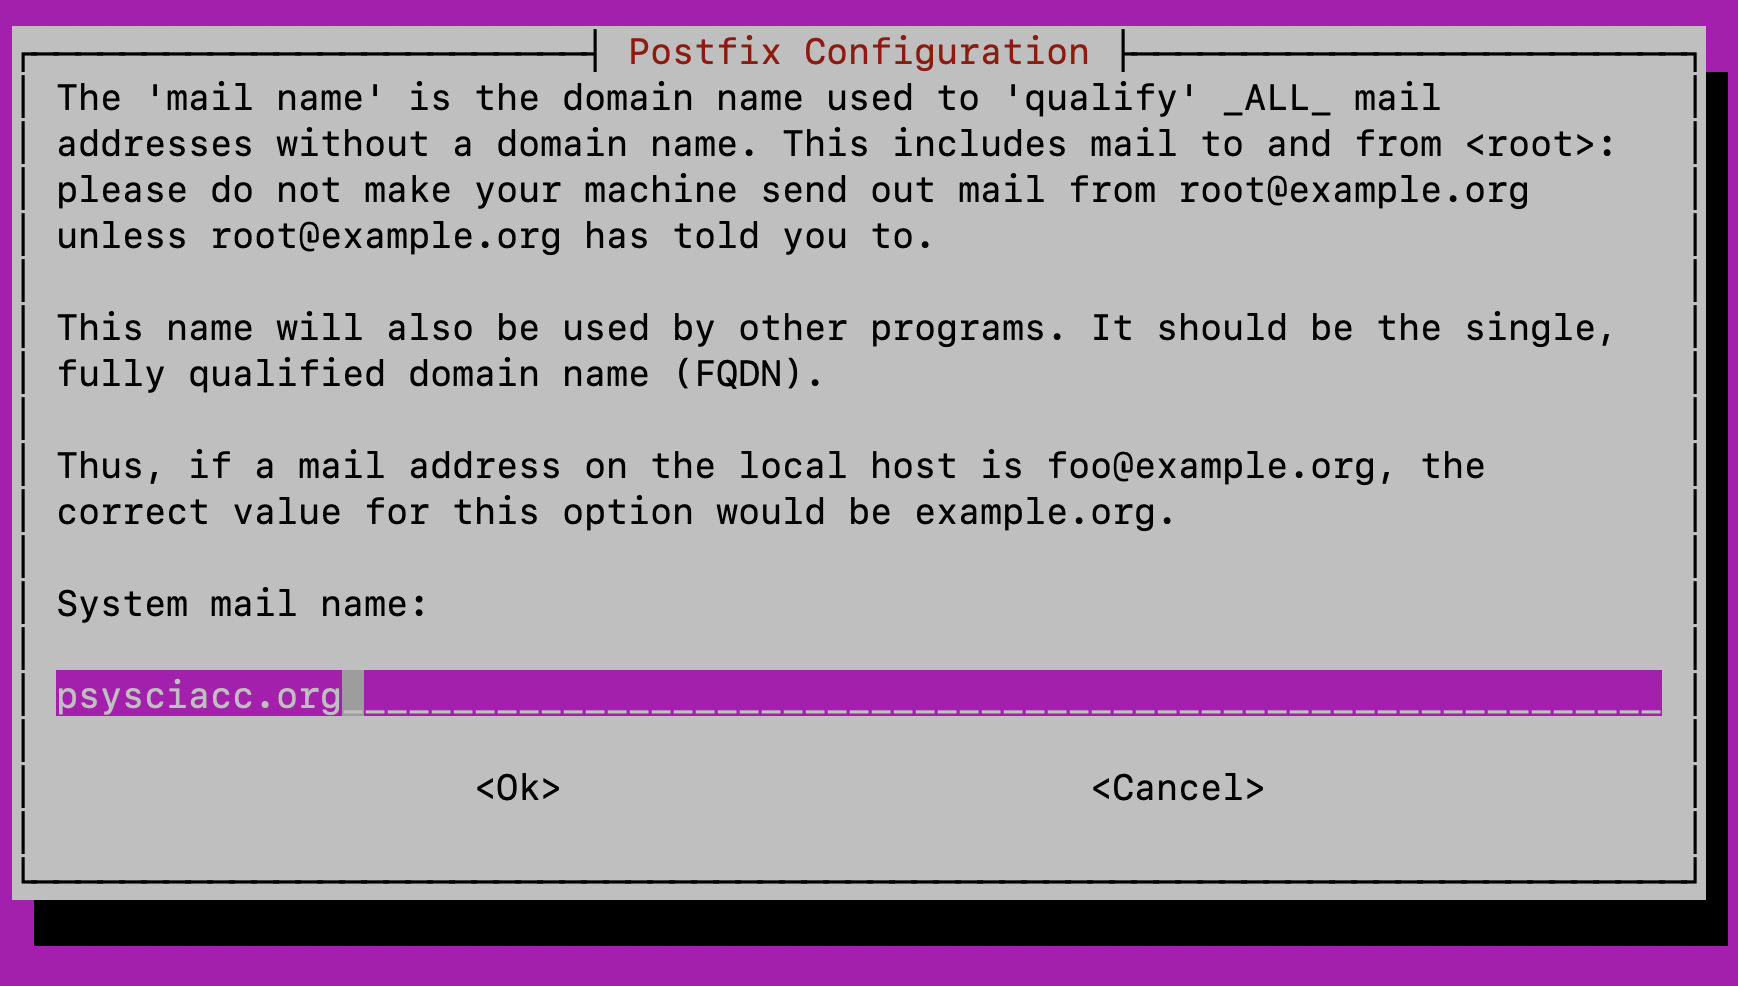
The PSA now has a fancy email, so I set it up for that:
And of course I forgot to take a picture, but we use sendgrid to send emails, so the next page was smtp information, so it was smtp.sendgrid.net. You can use gmail or any number of services that let you send email through smtp.
Once it’s done, enable opencpu and restart apache:
sudo a2ensite opencpu
sudo apachectl restart
You should now see the ocpu test page at http(s)://yourwebsite:8004/ocpu/test - where yourwebsite is the IP address or name of your website.

Deal with R
Now that we have the opencpu, it has installed R for us. Let’s use:
sudo -i R
To enter R as the administrator. I’m going to check the R version first:
> version
platform       x86_64-pc-linux-gnu
arch           x86_64
os             linux-gnu
system         x86_64, linux-gnu
status
major          4
minor          4.1
year           2024
month          06
day            14
svn rev        86737
language       R
version.string R version 4.4.1 (2024-06-14)
nickname       Race for Your Life
Now, let’s install packages and other things we need to run formr. Start with devtools, but watch for errors, as you may have to exit R and install Ubuntu packages to get the R packages to install. The most common error you will see is non-zero exit status which is jargon for “this didn’t work, maybe I’ll give you a hint”. Many package developers say something like “install X package” somewhere in the error output (bless you!), so that’s what to look for.
install.packages("devtools")
devtools::install_github("rubenarslan/formr")
1: In install.packages("devtools") :
  installation of package ‘textshaping’ had non-zero exit status
2: In install.packages("devtools") :
  installation of package ‘ragg’ had non-zero exit status
3: In install.packages("devtools") :
  installation of package ‘pkgdown’ had non-zero exit status
4: In install.packages("devtools") :
  installation of package ‘devtools’ had non-zero exit status
To figure this out, because it was a LOT of output, I tried textshaping by itself:
> install.packages('textshaping')
Package harfbuzz was not found in the pkg-config search path.
Perhaps you should add the directory containing `harfbuzz.pc'
to the PKG_CONFIG_PATH environment variable
Package 'harfbuzz', required by 'virtual:world', not found
Package 'freetype2', required by 'virtual:world', not found
Package 'fribidi', required by 'virtual:world', not found
Here’s the type of error you are looking for. I will exit R and install these packages:
(note the > indicates R console, $ indicates linux, don’t copy those when you are cutting and pasting)
> quit()
$ sudo apt-get install libharfbuzz-dev libfribidi-dev
Then I went back to R sudo -i R and repeated the process until no errors. You may end up installing other packages as you go - I removed the old suggestions and will add things I found along the way above.
Here’s other linux packages I had to install:
$ sudo apt-get install libfreetype6-dev libpng-dev libtiff5-dev libjpeg-dev libsodium-dev
Exit R:
quit()
Edit Configurations
Open the configuration file for OpenCPU:
sudo nano /etc/opencpu/server.conf
- Edit the
key_lengthsetting from 13 to 50. - Also set the following packages to
"preload": ["stringr", "dplyr","knitr", "lubridate","formr", "rmarkdown", "lattice"]. - Use
control + Xto save and exit.
Other System Requirements
Specifically for formr, use the following code for the Ubuntu packages necessary (that we haven’t already installed):
sudo apt-get install git php mysql-server composer php-curl php-fpm php-mbstring php-mysql php-zip php-xml php-gd php-intl php-xml pandoc
Use Supervisor to control email notifications and other session monitoring. Use the following code to install:
sudo apt install python3-pip
pip install supervisor
If this gives you a warning / error:
sudo apt install supervisor
Apache needs the rewrite mod enabled, which can be added by running the following:
sudo a2enmod rewrite
sudo systemctl restart apache2
Allow overrides for the virtual machine. First, open the configuration file:
sudo nano /etc/apache2/sites-enabled/000-default.conf
Put the following block on the end of the default configuration file (after </Virtualhost>) for Apache2 using:
    <Directory /var/www/html>
        Options Indexes FollowSymlinks MultiViews
        AllowOverride All
        Order allow,deny
        allow from all

    </Directory>
Install formr from GitHub
It’s suggested you put formr in the /var/www/ folder. Normally websites go in the /var/www/html folder, but we will include a symbolic link (i.e. connection) to know it should show the formr installation, even though it’s in a different folder. Use the following code to change folders and clone the GitHub folder.
cd /var/www/
sudo git clone https://github.com/rubenarslan/formr.org.git
Create the link between folders and fix access rights:
sudo ln -s /var/www/formr.org/webroot /var/www/html/formr
sudo chown -R www-data:www-data /var/www/formr.org
Now that we have that installed, let’s update application dependencies by using the following code:
(note I got a warning but I’m not logged in as www-data, so otherwise I can’t edit this folder)
cd formr.org #assumes you are still in /var/www/
sudo composer install
sudo composer update
The SQL Database
Login to the new SQL database using:
sudo mysql -uroot
Next, run the following commands changing EnterPassword to your desired password. In SQL, each line ends with ;, so you can run them one at a time if you want. NOte: this is a little updated from the original formr installation instructions because the MySQL syntax has changed a little bit.
CREATE DATABASE formr DEFAULT CHARACTER SET utf8 COLLATE utf8_unicode_ci;
CREATE USER 'formr'@'localhost' IDENTIFIED BY 'EnterPassword';
GRANT ALL PRIVILEGES ON formr.* TO formr@localhost;
FLUSH PRIVILEGES;
quit;
Next, import the initial required database structure by running (remember change EnterPassword, but leave the -p there!):
mysql formr -uformr -pEnterPassword < /var/www/formr.org/sql/schema.sql
As of now, all the patches have been applied - I used ChatGPT to help me figure out if they had been!
Configuration Steps
Configuration Folder
Duplicate (don’t rename) the folder config-dist, name it config.
cd /var/www/formr.org/ #change to the right folder
sudo cp -avr config-dist config #copy the folder
You can type ls to show the folders in this formr.org folder if you want to make sure both folders are still there.
Settings.php
Open the configuration file:
sudo nano /var/www/formr.org/config/settings.php
- Under the top settings:
- $settings[‘use_study_subdomains’] = false; (our instance is already at a subdomain, so we turned this off, generally I wouldn’t do this)
- $settings[‘admin_domain’] = “www.example.com”; (change this to your ip/url)
- $settings[‘study_domain’] = “*.example.com”; (change this to your ip/url)
- $settings[’timezone’] = ‘America/New_York’;
- Here’s a list of everything I changed under database settings:
- login => ‘formr’
- password => ‘EnterPassword’ #from above!
- database => ‘formr’
- Under the email settings:
- host (email) => ‘smtp.sendgrid.net’
- from (email) => our gmail account
- username/password for email/api
If you are using gmail, you may need to set up App Passwords.
Set paths and permissions
The following folders (and their sub-folders) have to be writable: /tmp and /webroot/assets/tmp. Use the following code (note: 777 necessary, I have tested it!):
sudo chmod -R 777 /tmp
sudo chmod -R 777 /var/www/formr.org/webroot/assets/tmp
Cron Jobs
To install the formr crontab in a linux system:
sudo nano /var/www/formr.org/config/formr_crontab
Delete the # from the line: \*/10 ... cron.php. Use ctrl + X to exit and then run:
sudo ln -s /var/www/formr.org/config/formr_crontab /etc/cron.d/formr
Set up https
Use certbot to set up your domain to work over https for encrypted traffic.
sudo apt-get install certbot python3-certbot-apache
sudo certbot --apache
Pick the host at 000-default.conf when prompted.
Now, restart apache one more time for good measure: sudo systemctl restart apache2.
Set Yourself Up
- Go to the site and register yourself as a user.
At this point, my site said it couldn’t connect to the database (503: data source unavailable). Through the magic of “ask a smarter friend”, we found that the php.ini file needed to be set up to connect the dots to mysql. So run this:
php --ini
And look for:
Configuration File (php.ini) Path: /etc/php/8.3/cli
Loaded Configuration File: /etc/php/8.3/cli/php.ini
And then run: (note I changed this to apache2, this is the one you want to edit)
sudo nano /etc/php/8.3/apache2/php.ini
There’s a long section that talks about extensions:
The ldap extension must be before curl if OpenSSL 1.0.2 and OpenLDAP is used
; otherwise it results in segfault when unloading after using SASL.
; See https://github.com/php/php-src/issues/8620 for more info.
;extension=ldap

;extension=curl
Remove any ; at the start of a line that includes pdo, mysqli, odbc. Restart apache2. Website!
extension=mysqli
;extension=oci8_12c  ; Use with Oracle Database 12c Instant Client
;extension=oci8_19  ; Use with Oracle Database 19 Instant Client
extension=odbc
;extension=openssl
extension=pdo_firebird
extension=pdo_mysql
extension=pdo_oci
extension=pdo_odbc
extension=pdo_pgsql
extension=pdo_sqlite
- Go back to the terminal to set up yourself as the administrator.
- Since the complete layout of the formr database may not be clear to those who didn’t write it, here’s some steps you can take to understand it:
- Log in to mysql (see above).
- Run
SHOW DATABASES;to see what’s available:
mysql> SHOW DATABASES;
+--------------------+
| Database           |
+--------------------+
| information_schema |
| formr              |
| mysql              |
| performance_schema |
| sys                |
+--------------------+
5 rows in set (0.00 sec)
- Select the formr database by using
USE formr;. - To see what’s in that database use
SHOW TABLES;. I’m not showing the output here because it’s long, but we are likely interested heresurvey_users. When you register, it sticks you into that table. - Use
DESCRIBE survey_users;to see the columns in that table. - Use
SELECT * FROM survey_users;to see all the data in that table. - Use
SELECT admin FROM survey_users;to show that you are not an admin:
mysql> SELECT admin FROM survey_users;
+-------+
| admin |
+-------+
|     0 |
+-------+
1 row in set (0.00 sec)
- To make yourself an admin, run
UPDATE survey_users SET admin = 100 WHERE id = 1;(the assumption here is that you are the only row in the table and are therefore, id number 1). - You should get a message that you updated your row but you can check it out with
SELECT admin FROM survey_users;to make sure it ran. - Now, when I log into my formr instance, I have rights to make surveys and manage users!